Circuit recognition · Guide 01
Silverstone Circuit
Towcester, Northamptonshire
Circuit data
Locked
Noise limits
Cars
Published car trackday drive-by limit for National and Grand Prix dates.
SilverstoneCheck your booking and briefing: event limits and test procedures can differ.
Layout
Grand Prix
Length
3.661 mi / 5.891 km
Direction
Clockwise
Access
Permanent circuit
Circuit brief
Know the lap
Character
Very fast and wide, with linked direction changes and long straights rewarding commitment and clean exits.
Corner by corner guide
15 corners on Grand Prix (Arena)
Corner by corner guide
15 corners on Grand Prix (Arena)
Grand Prix (Arena)
Silverstone has space and speed, but the big corners punish the wrong approach. Abbey and Copse need confidence and consistency; the slow corners and the Maggotts–Becketts run reward planning ahead instead of treating every apex separately.
- 1
Abbey
Abbey is quick, and you have to make your mind up about turn-in before Farm is fully in view. One important distinction is between carrying the speed cleanly through Abbey and using so much kerb that the car is unsettled for the next change of direction. Start with a repeatable line and make small adjustments as your confidence grows.
- 2
Farm Curve
Farm is quick enough to pass almost unnoticed, but it leads into a heavy change of pace. Settle the car before you focus on Village; chasing an aggressive line here can leave you wrong-footed for the first major stop.
- 3
Village
After the speed of Abbey and Farm, Village brings a sharp change of tempo. The guide describes a right-hander that opens and then asks for more turning, which is why an early dive to the inside is so seductive and so unhelpful. Stay aware of the way the bend changes through its middle, keep some steering capacity in reserve and be prepared to compromise the exit because the Loop follows almost immediately. The best Village line is the one that leaves you ready for the next corner, not simply the quickest point at the first apex.
- 4
The Loop
The Loop is one of the slowest, most important corners on the GP lap. It is easy to arrive with more speed than the car wants to turn at, then spend ages waiting to accelerate. Get the speed off, let the car point towards the exit and aim to leave the corner cleanly rather than rushing the first apex.
- 5
Aintree
Aintree is a gentle left following the slow Loop; it rewards a car already straightening and accelerating. Avoid using the whole width at The Loop if that leaves you making a second abrupt steering input here.
- 6
Brooklands
Brooklands rewards a turning shape that develops through the corner rather than a single abrupt dart towards the inside. The approach is a major braking area after Wellington Straight, but the car must already be positioned for Luffield as it releases the brakes. The instructor explains how the steering demand gradually changes; that is a more transferable observation than the gear chosen in a Radical. Aim to finish this left-hander with the car under control, not drifting sideways into the next problem.
- 7
Luffield
This long right asks you to wait for the car to come back underneath you. Grab an early inside line and you can spend much of the corner adding steering while the exit onto the old pit straight slips away.
- 8
Woodcote
Woodcote can seem straightforward in the dry, but an early turn-in leaves you with too much steering still on as the corner opens onto the straight. Work on a smooth arc and let the car run out naturally rather than forcing it to stay tight to the kerb.
- 9
Copse
Copse comes up quickly and needs a turn-in point you can repeat every lap. Get the car settled before steering towards the inside, then give it room to run out as the corner opens. Avoid carrying so much speed in that you have to add steering late while the outside of the track is getting closer.
- 10
Maggotts
Maggotts starts a rapid left-right sequence where each change of direction sets up the next. Make the first move cleanly and keep something in reserve for Becketts. Turn too sharply at the start and you can spend the rest of the sequence trying to put the car back in the right place.
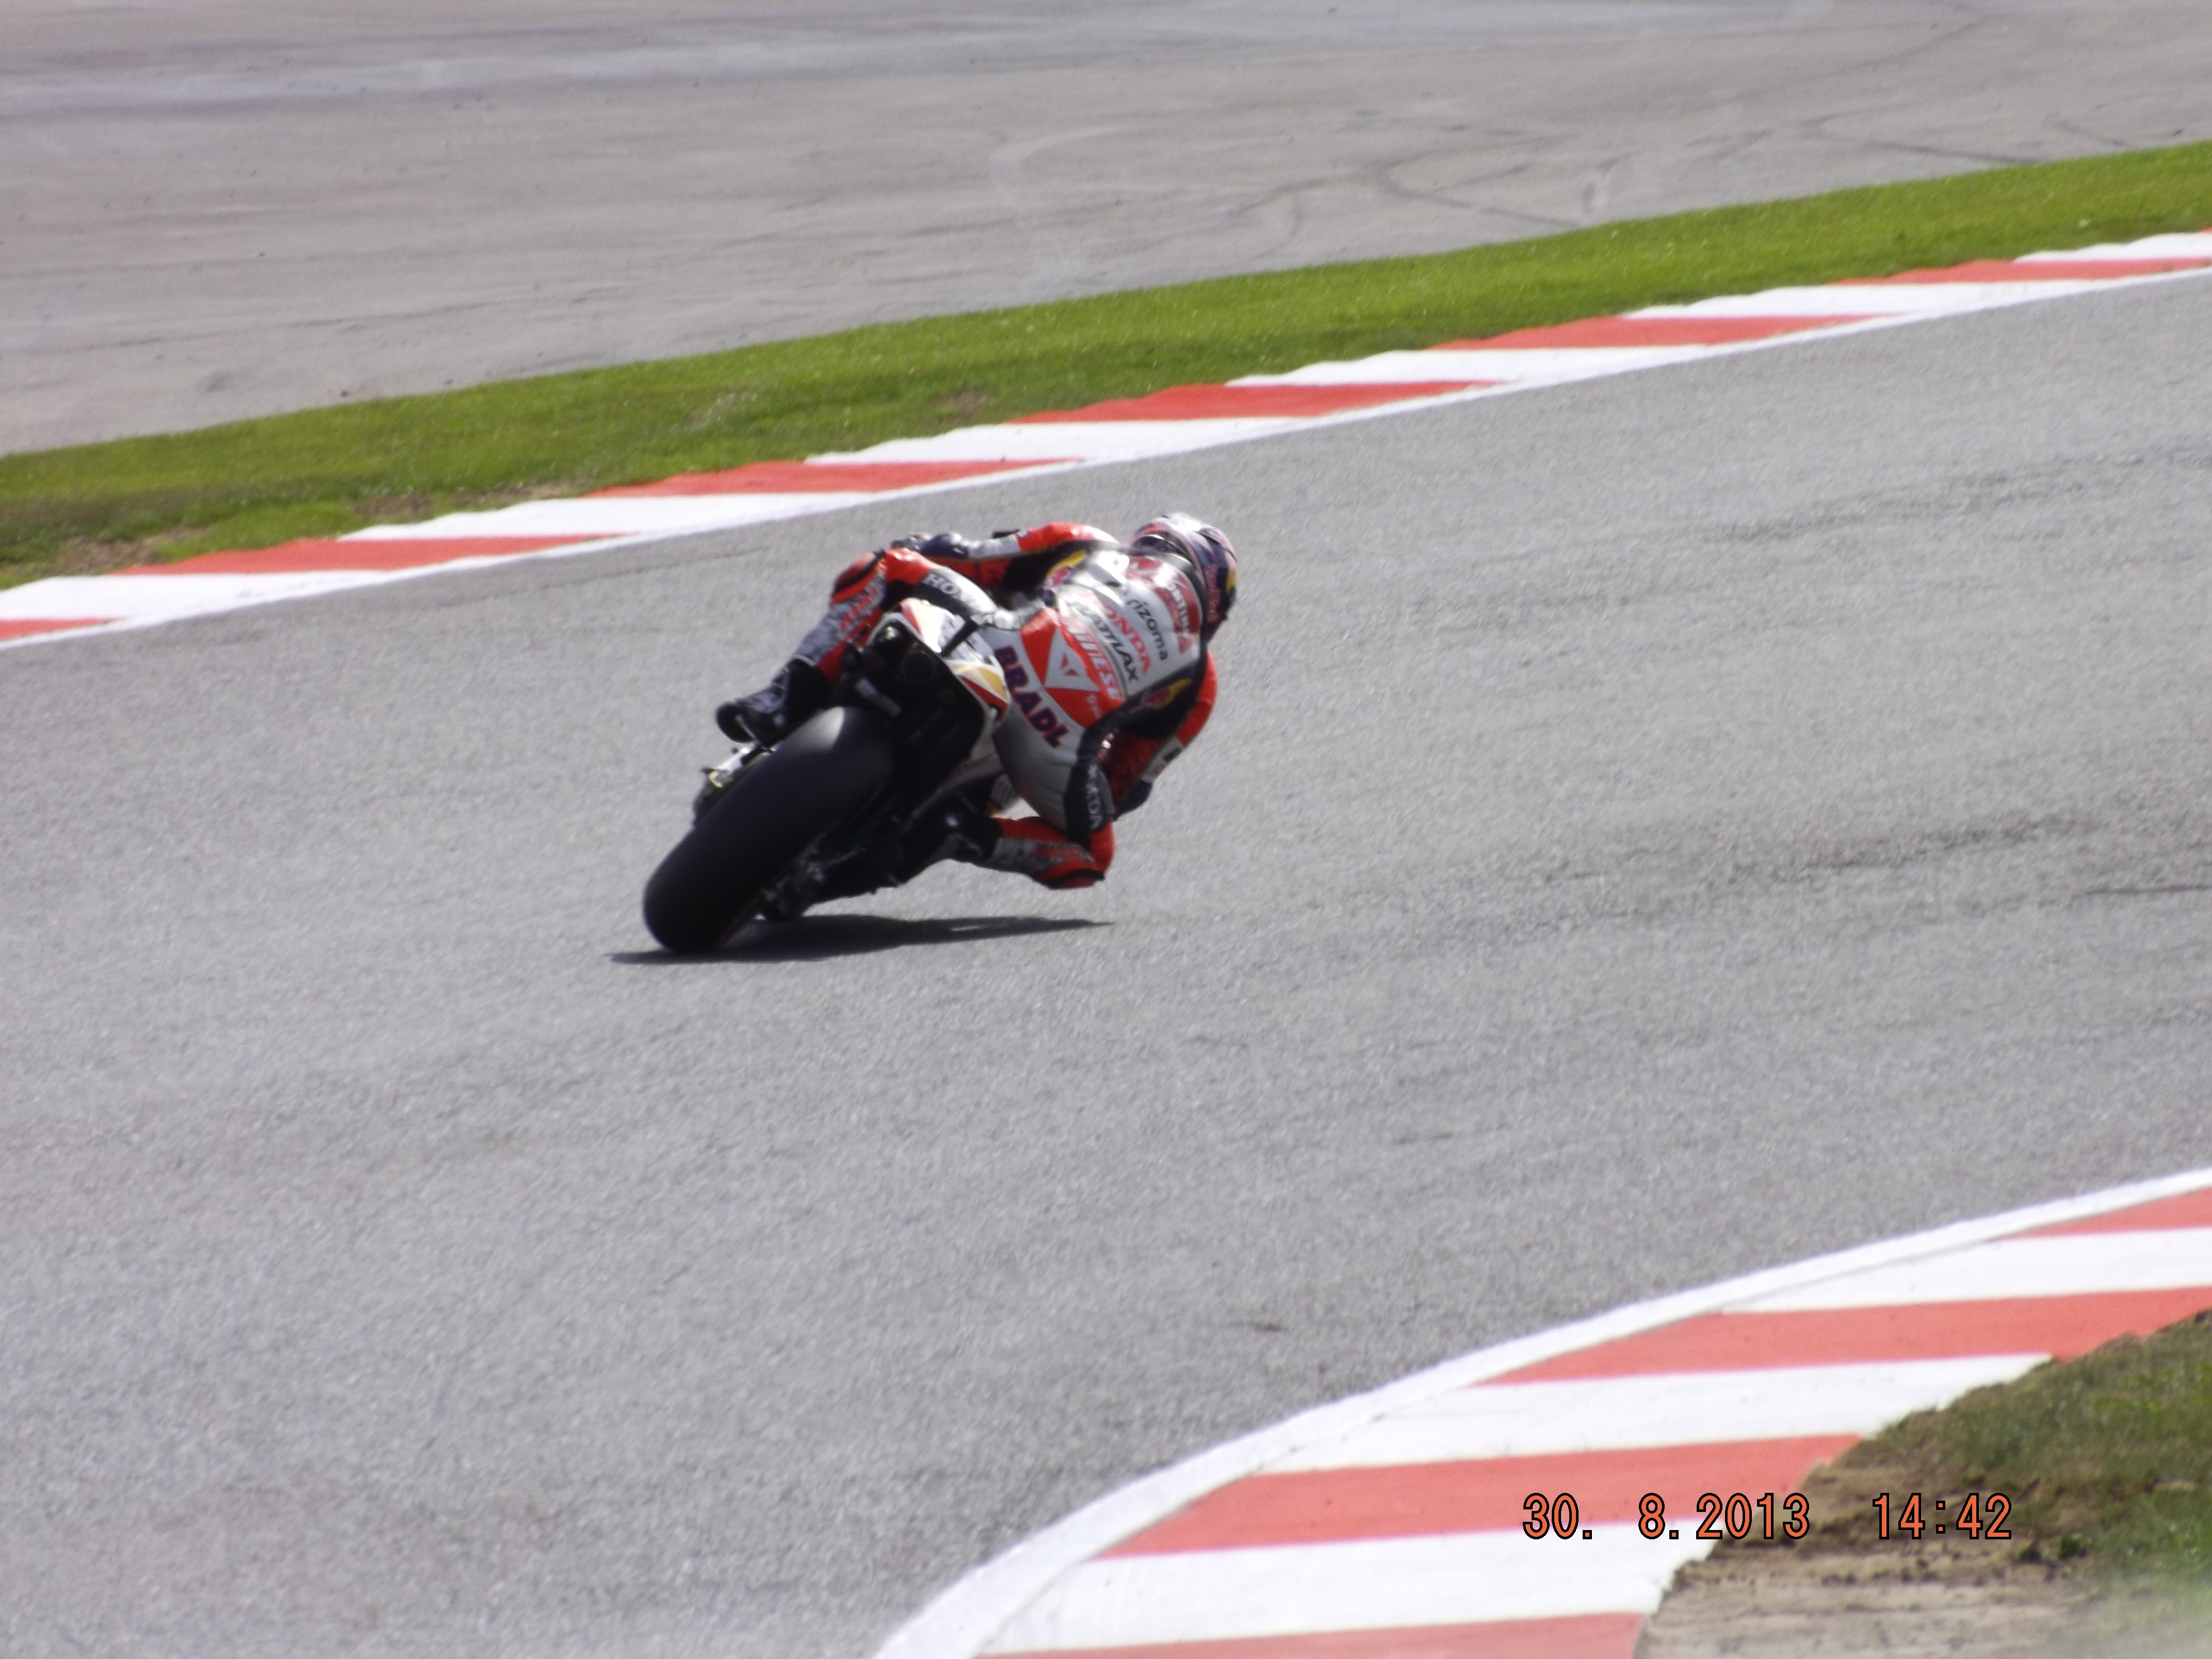
Photo: Radi1981 · MotoGP rider at Maggotts in 2013 · CC BY 3.0 - 11
Becketts
Becketts is the part of the complex where an earlier error tends to become obvious. The car is changing direction repeatedly, with the available road coming towards you faster than you expect. Avoid treating a kerb strike as an objective in itself; prioritise keeping the car settled enough to aim at Chapel. What matters is whether the final right-hander releases you onto a sensible line, not whether every preceding part felt maximally quick.
- 12
Chapel
Chapel completes the famous left-right-left-right-left progression and starts the long acceleration along Hangar Straight. In the instructor’s analysis, the final approach matters because a poor last change of direction can spoil the whole straight. Finish the turn, allow the wheel to open and get the car working forward rather than sideways. A bump and the available track-limit boundary can affect the exit; those details deserve confirmation against current track conditions.
- 13
Stowe
The run from Hangar Straight makes Stowe feel fast before you even start turning. The crest changes how clearly you read the bend and how settled the car feels: keep a margin until you know exactly where the road opens.
- 14
Vale
Vale is a braking and rotation exercise after Stowe, but the real target is the way into Club. If you chase a dramatic entry here you will be waiting far too long before you can accelerate out of the complex.
- 15
Club
Club is the final part of the lap before Hamilton Straight. Forget trying to copy somebody else’s gear or speed: work on opening the corner so you can bring the car progressively towards the apex and get back on the throttle with less steering on. A good exit carries its reward all the way down the straight.
A guide, not tuition. These corner notes are here to help you get to know the circuit, not to replace a track briefing or advice from a qualified instructor. Lines, braking points and kerb use vary with your vehicle, experience and conditions on the day. Treat the suggestions as a starting point, build up at your own pace and always follow the flags, marshals and organiser’s instructions.
Trackday note
Confirm the booked configuration: GP, National and International layouts use different sections.
Suitable for
Bikes · Cars
Circuit centreline derived from © OpenStreetMap contributors (ODbL). Layout visual is a navigation aid, not a safety or briefing document. Always follow the organiser and circuit marshals.
Private track journal
Personal notes
Sign in to rate this circuit and keep notes for your next visit.
Trackday tools
Log setups, tyre pressures and get paddock SOS help